How To Take Beautiful Travel Photos in 5 Steps
All travelers would wish to have their vacation photos taken beautifully so to share with their friends and relatives on how enjoyable their vacation travel was. Since vacation travel to your dream destinations is supposed to be memorable, taking lousy travel photos can possibly ruin your great experience over there.
Travel photography, as its name suggests, is photo taking session on travel. These photos could involve landscapes, cityscape, landmarks event or portraits. They should include what you found interesting on travel and captured them instantly, not what you planned or set up for deliberately.
However, in order to capture them beautifully and not just another snapshots everybody else is taking, you need a bit of thoughts before pressing down your camera’s shutter release button. One good thing about travel photography is that, unlike sports, event and wedding photography where you need to act fast to capture cetain moments, you can afford to take some time to think. So it’s simpler. Just follow these 5 steps and you can always capture travel scenes beautifully to keep as your own memory, or even share with others proudly and satisfactorily.
Here are your 5 steps away from shooting amazing travel photos:
- Lighting. First thing to check when you see something interesting on travel is surrounding lighting, natural or artificial. Lighting is the single most important element in taking beautiful photos. Before snapping, see how the surrounding lighting reflected on your scene.
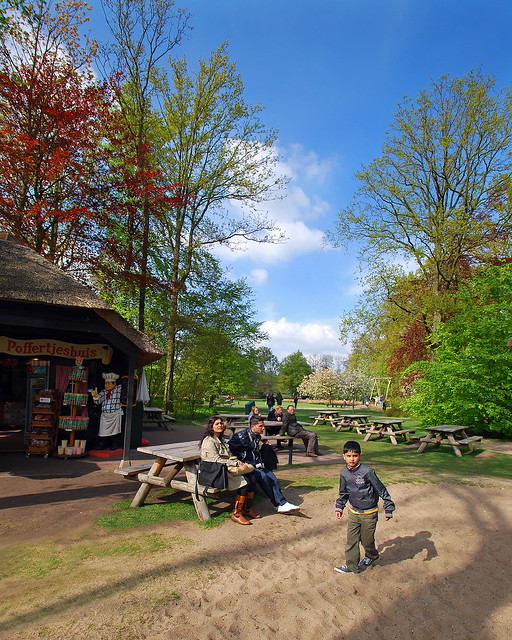
In daytime, see where the sunlight are coming from. For landscapes or cityscapes, try to avoid direct sunlight shining any angle to you with your subject being back-lighted. These will either create a dark, underexposed photo, or created flare or ‘ghosting’ effect in your photos. If it’s at night, check if the artificial lighting is bright enough to shoot handheld. Don’t snap it. Walk around until you find the best location with best lighting falling onto your subjects; - Exposure Modes. Once you have found the best position with the best light reflection angle, you should then select the best Exposure Mode of your camera. For beginners, start with your camera’s Auto Scene Mode. Select a mode that is best suited, be it Sunset, Portrait, Backlit or Night Scene mode. For more experienced shooters, select the best Exposure mode between Manual, Aperture Priority, Shutter Priority or Programed Auto mode. Most of the time, you need only P with certain degree of exposure compensation. For night scenes, you can control Aperture with your camera sits on tripod, or select S to control shutter speed for certain effects such as fireworks, or silky river or sea water flow. Or you can use wide opened Aperture to control Depth-of-Field, or shooting ‘Star-burst‘ effect too!
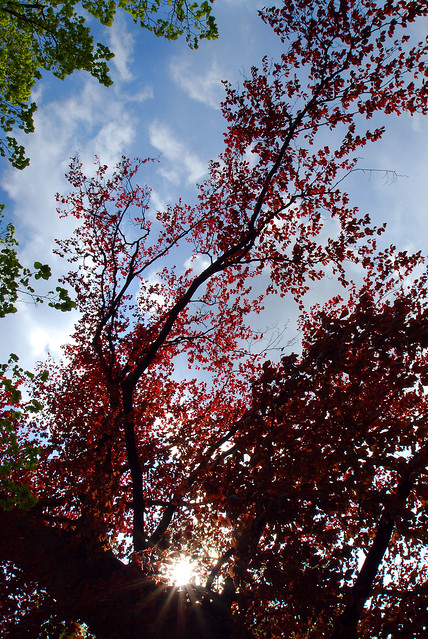
- ISO setting. After confirming your desired Exposure mode, you should now check your camera’s sensor sensibility, or ISO setting.
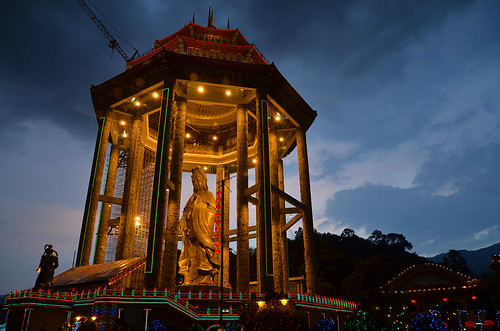
If your camera is on tripod, you are allowed to set the lowest ISO for maximum quality night scene photos. If you wish to capture the crowd actions in low available ambient lighting, you should boost ISO setting to keep reasonably fast shutter speed. For night portrait, set ISO to 1600 or above to capture also the background lighting at night. - Composition. Once you have done the above 3 steps, to compose your photo frame is comparatively easy. And it’s all up to your imagination. There is no right or wrong composition, only strong or weak composition. There’s no steps to follow, all depends on your preference.
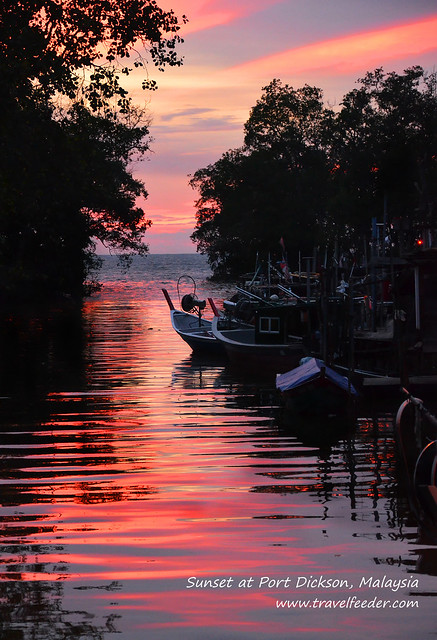
Either tight composition to capture certain details of a scene, or loose composition to capture the whole scene, is all up to you. It decides your lens selection. You should decide now which lens to use. An ultra wide angle lens could create a totally different effect to what a telephoto lens would. Since you have established the lighting, Esposure and ISO setting, whatever lens you choose now should not affect the overall quality of your image. - Action. Last but not least, TAKE ACTION! Focus your subject and press down your shutter release button now! Wait! Wait! Before taking any photo, check again if other travelers are blocking your scene. If so, try to wait until you could get a clear, non obstructive frame, or simply ask them to clear away!
It’s that easy, isn’t it? All we need is to use LEICA. What!? I can’t afford LEICA! Wait! See what we got here. Try joining the first letter of all the above 5 words together. BINGO! We got LEICA!! Yes, we must use LEICA to capture beautiful travel photos, but we don’t necessarily need to own a LEICA M9! And tha’t the catch! ![]() – Travel Feeder, your ultimate photo travel blog
– Travel Feeder, your ultimate photo travel blog
About The Author
Cecil Lee
The author is an avid traveler and photography hobbyist who loves to share with others his travel and photo-taking experience in many popular tourist destinations around Europe, Asia and Australasia. Read the exciting stories with many photos captured on his journeys.



Enjoyed the blog post!
- April 16, 2011